Open source Raman Spectroscopy
Project purpose
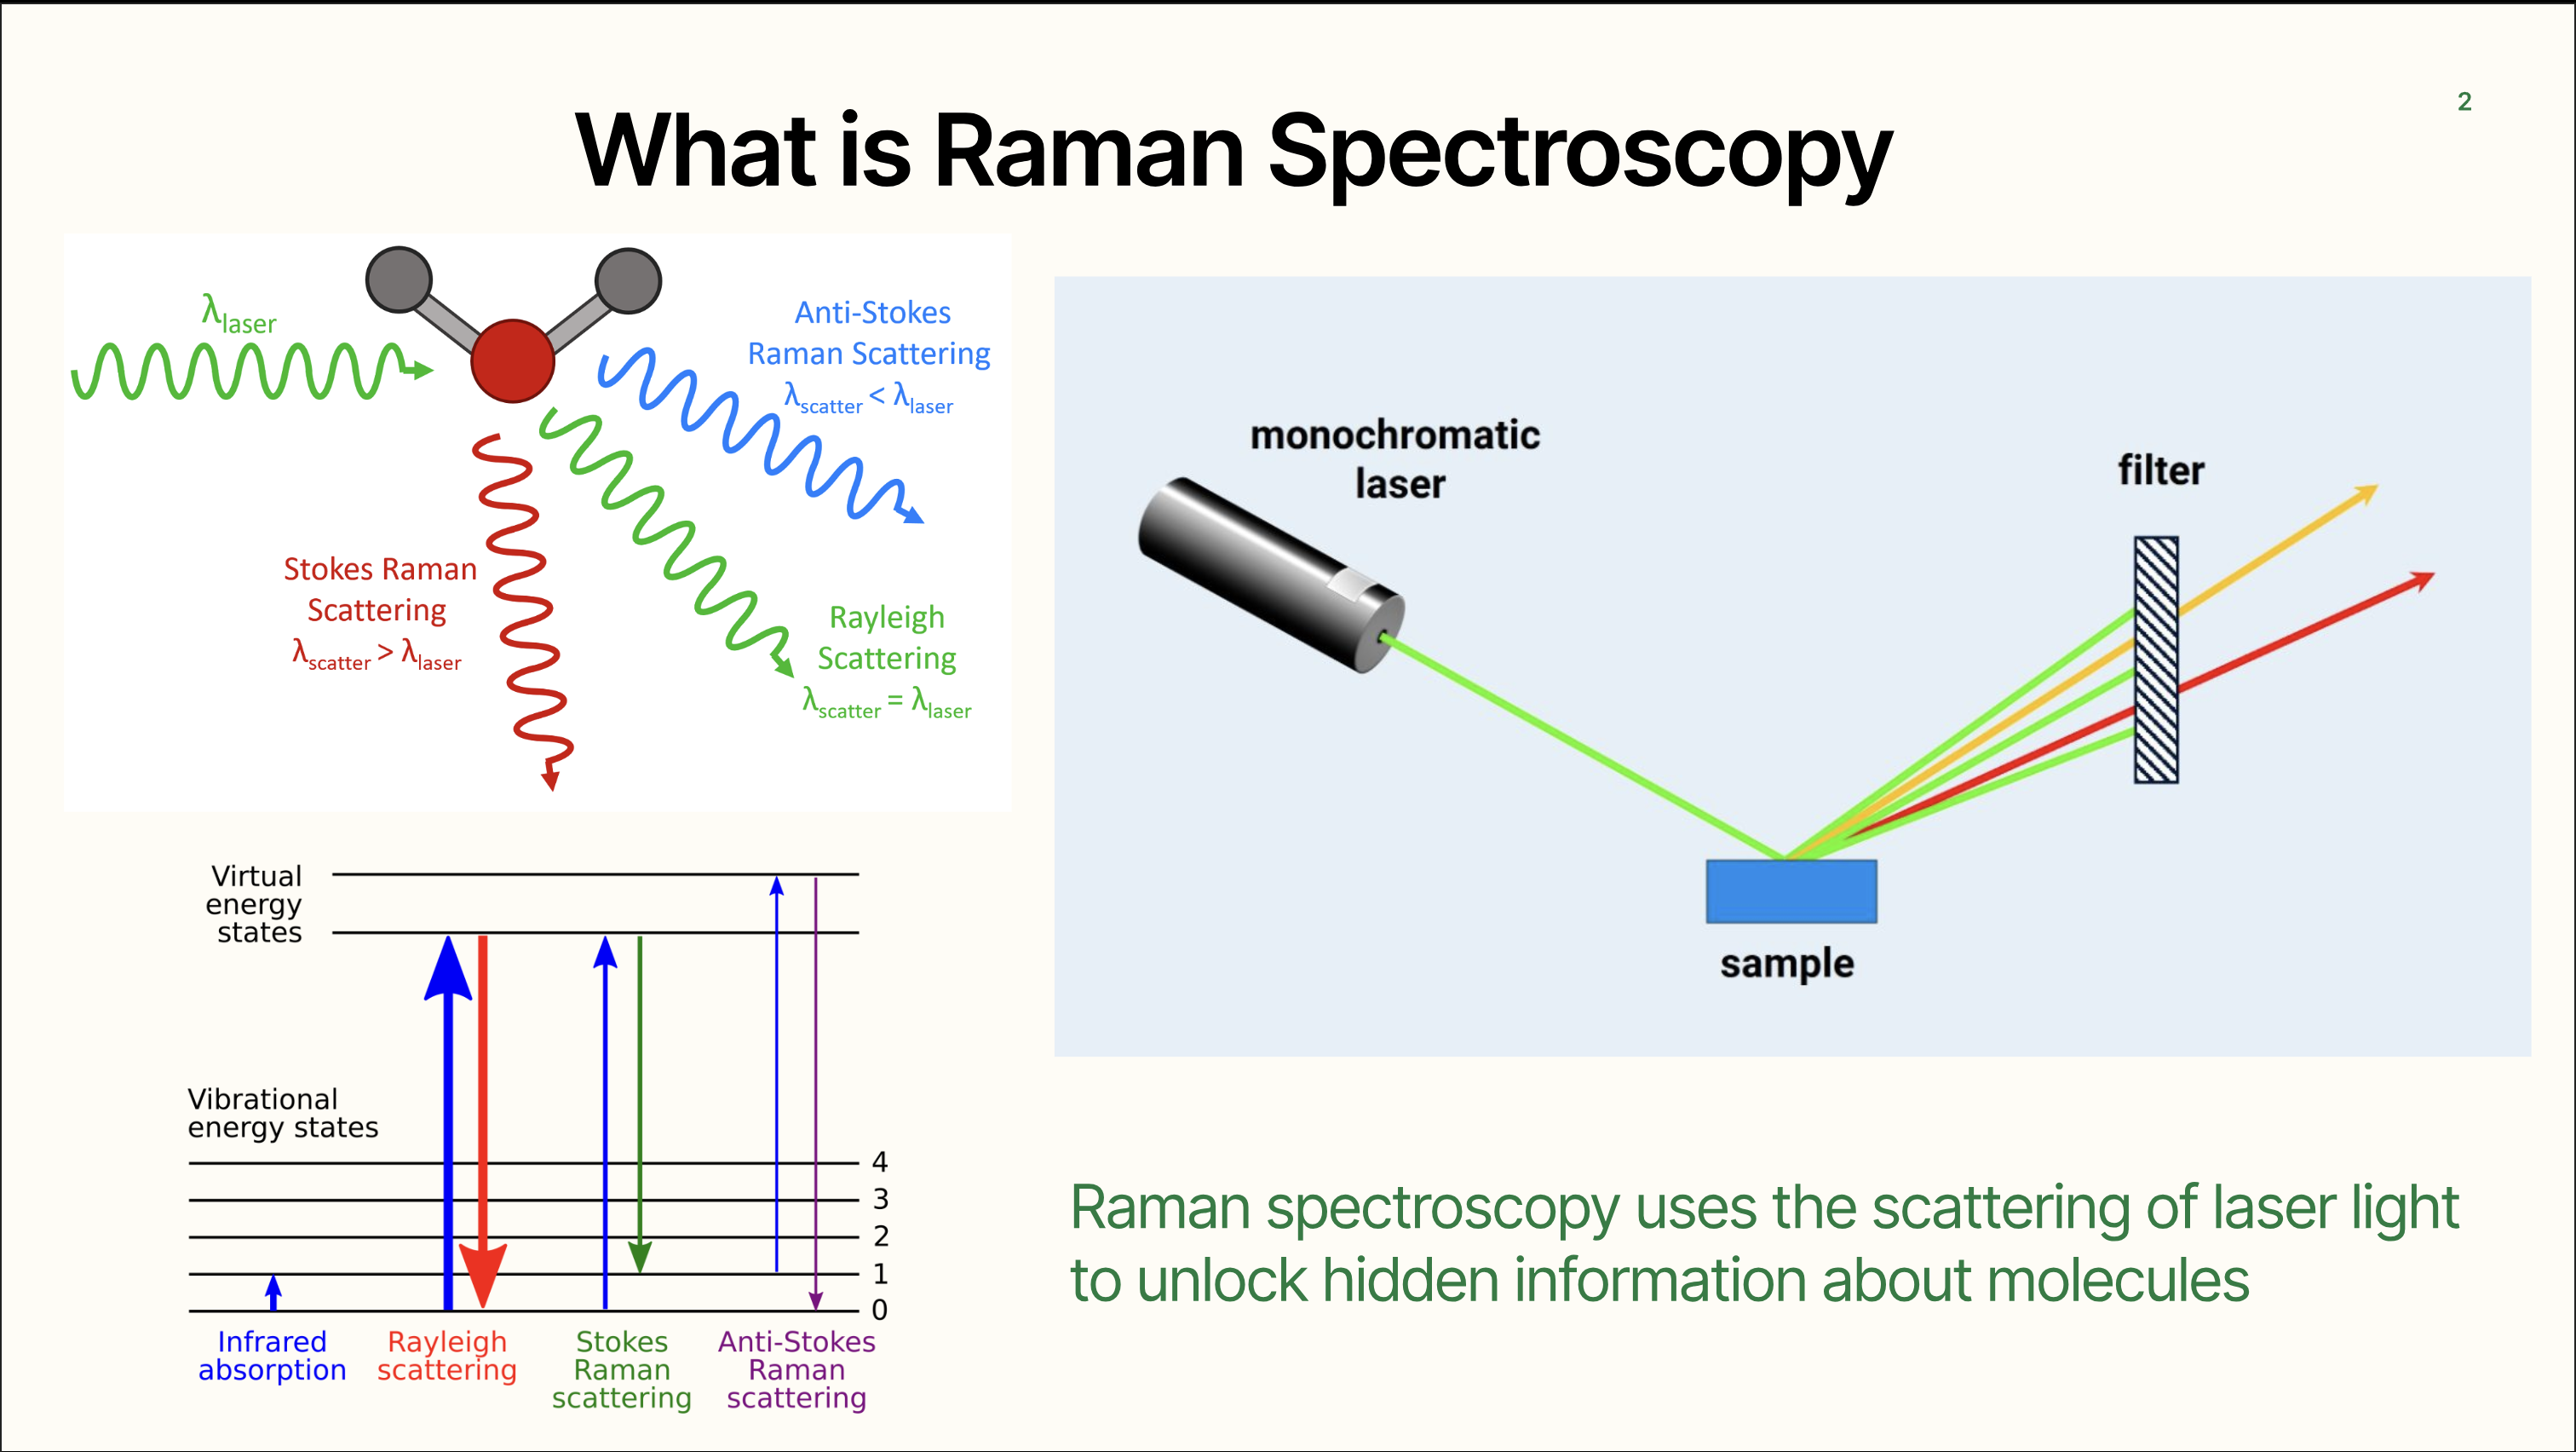
Raman Spectroscopy is a non-destructive chemical analysis technique which provides detailed information about chemical structure, phase and polymorphy, crystallinity and molecular interactions. It is based upon the interaction of light with the chemical bonds within a material. When a laser beam interacts with a material, the light doesn't just reflect or pass through; it can also scatter. Most of this scattered light remains unchanged in energy—this is called Rayleigh scattering. However, a tiny fraction of the light undergoes a change in energy due to its interaction with the vibrations of molecules in the material. This unique process is known as Raman scattering. In Raman scattering, the laser light exchanges energy with the material’s molecules. As a result, the scattered light either loses or gains energy, creating a shift in its wavelength. This energy shift is like a molecular "fingerprint" that reveals detailed information about the material’s structure, composition, and even its environment. By analyzing the spectrum of the scattered light, Raman spectroscopy allows scientists to “see” the vibrational and rotational modes of molecules, providing a powerful tool to study materials, from crystals and polymers to biological tissues. It’s a non-destructive and versatile technique that is widely used in fields like chemistry, materials science, and even archaeology.
Experiences before hand
My background is in material science and manufacturing techniques, building and choosing optical components and alignment is new to me and am also an entry level electronics maker
Materials and components were used
The main components are a 785nm dpss near infrared laser, ocean optics usb 4000 spectrometer, raspberry pi and Pi CCD camera, micrscope stage.
Parts used in the optical train are achromat lenses, 10/90 beam splitter cube, SMA optical fiber, 785 nm RazorEdge Dichroic laser beamsplitter, 785 nm ultrasteep long-pass edge filter, 10x microscope objective, a dpss 785nm laser, the lenses make up the bigest cost of the project and they are in the range of hundreds of dollars.
Tools and processes
An IR finder scope was the life save during the painstaking alignment, the laser source is near infrared and very hard to see, so this tool plus a Ir viewing card helped through the many late night of aligning the optics
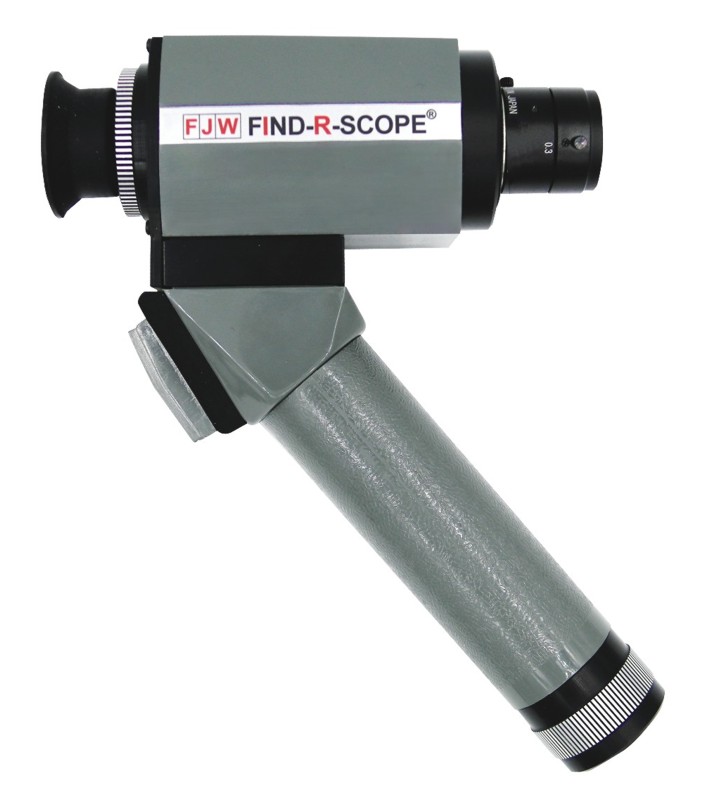
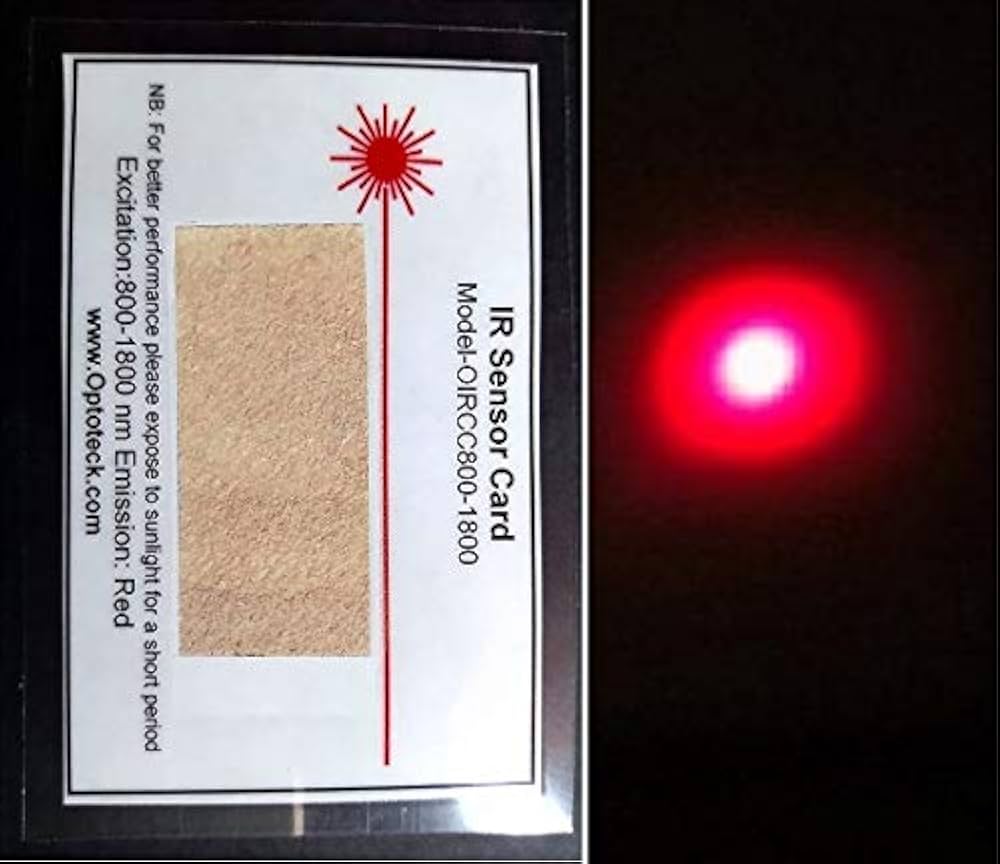
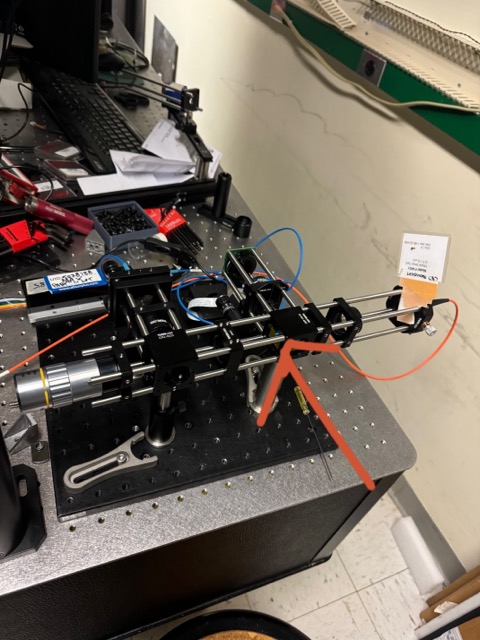
Other tools used include manual mill, CNC mill, hand tools, soldering, KiCad, Python, Optical table, metrology devices include height gauges, calipers, laser distance measurer
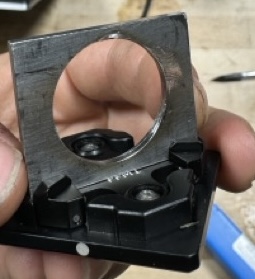
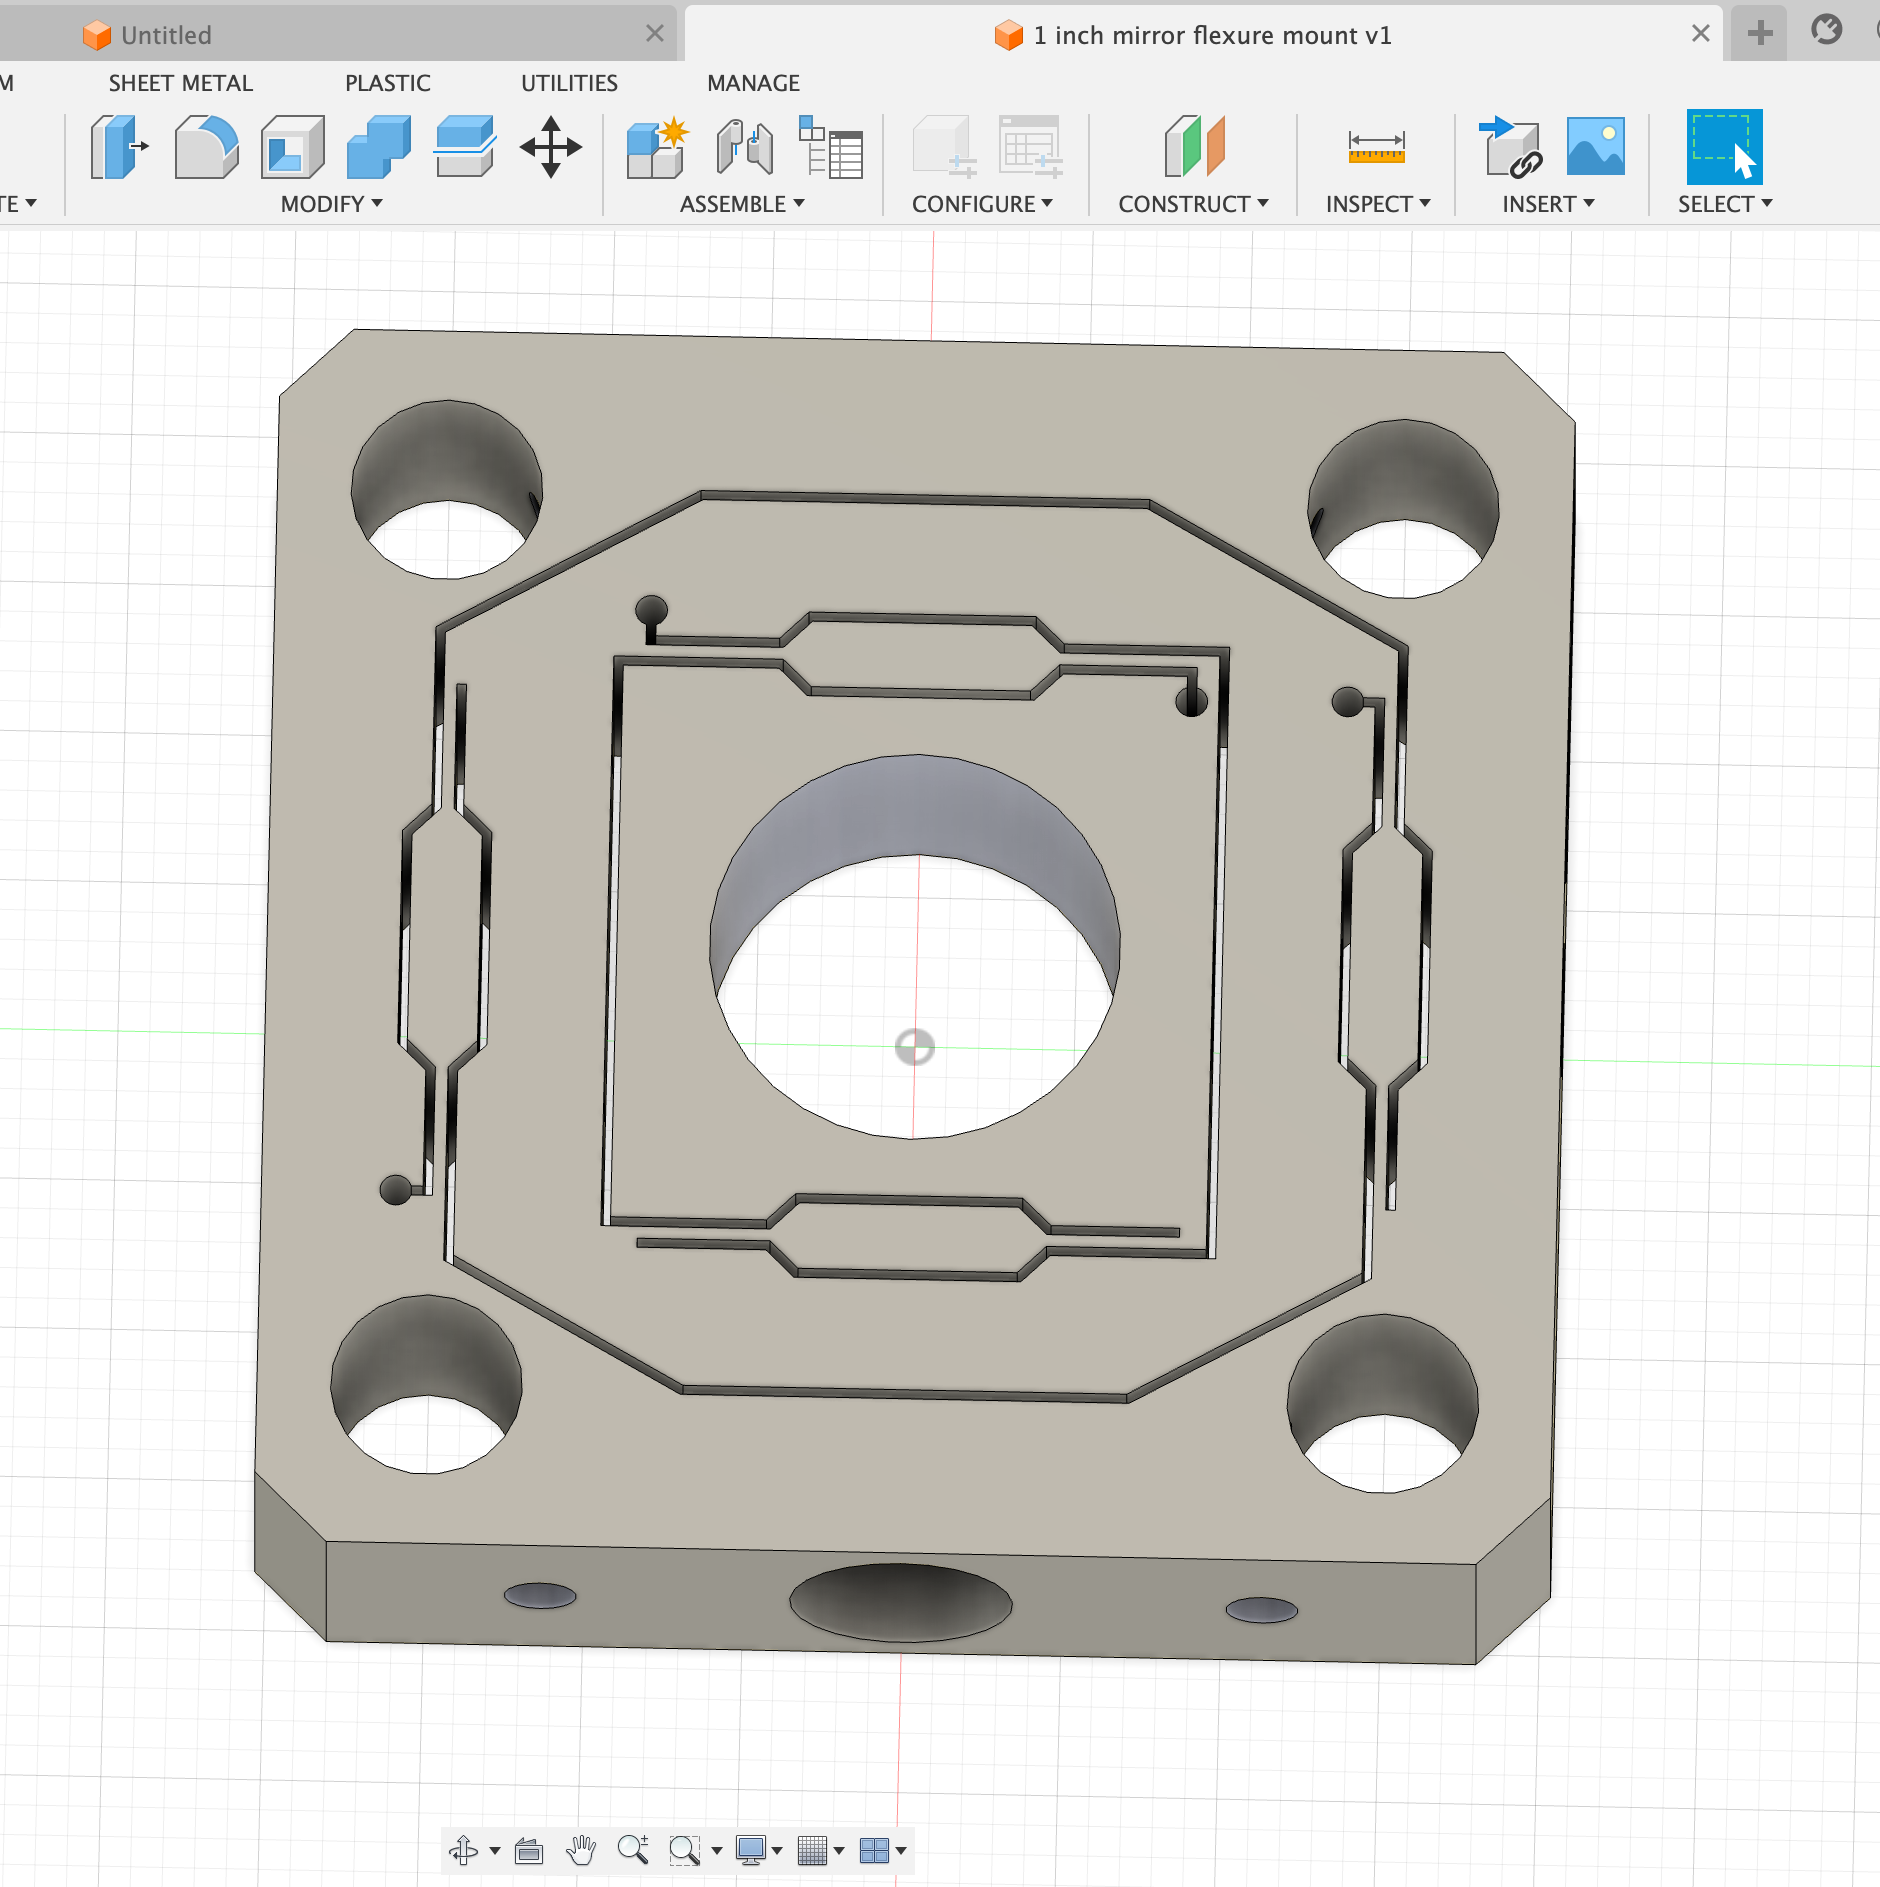

When the lense doesn't go into existing holders I make custom mounts.
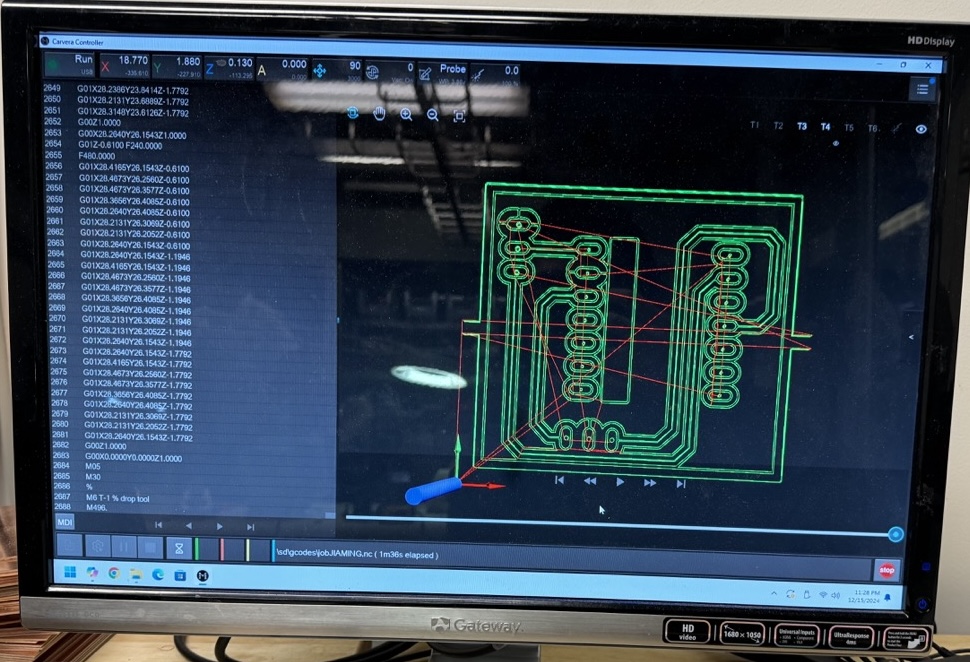
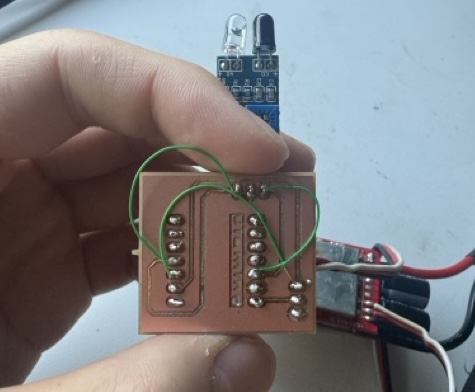
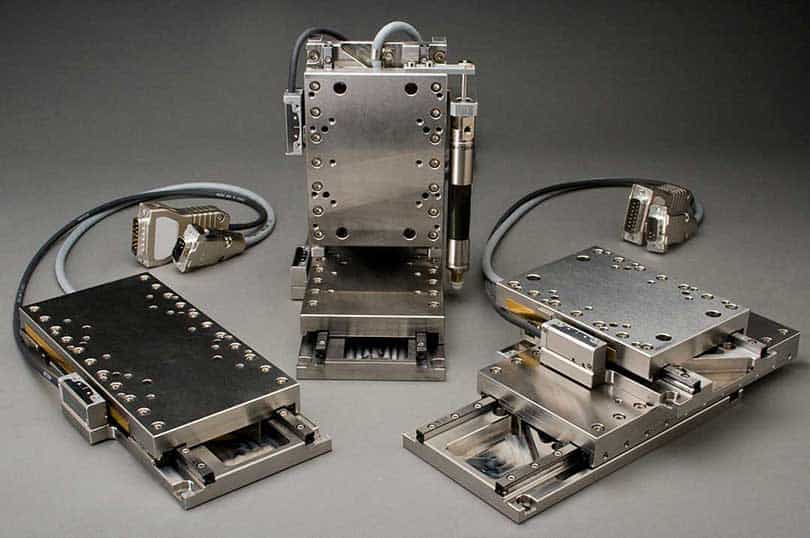
I tried to learn to drive a BLDC motor with Field oriented control instead of the usual stepper motor to drive a linear stage, did not leave enough time for that to work out, so I'm currently using a off the shelf pizeo stage.
I need to use python and USB to interact with the Ocean optics usb 4000 spectrometer

								import serial

# Replace 'COM3' with the correct serial port name for your setup
# Common Linux/Mac ports: '/dev/ttyUSB0', '/dev/ttyACM0'
# Common Windows port: 'COM3', 'COM4', etc.
port_name = '/dev/cu.usbmodem101'
baud_rate = 9600

try:
    # Open the serial port
    ser = serial.Serial(port_name, baud_rate, timeout=1)

    print(f"Opened serial port {port_name} at {baud_rate} baud.")
    print("Press Ctrl+C to exit.")

    # Continuously read from the serial port and print incoming data
    while True:
        if ser.in_waiting > 0:
            data = ser.readline().decode('utf-8', errors='replace').strip()
            print(data)

except serial.SerialException as e:
    print(f"Error opening or communicating through {port_name}: {e}")

except KeyboardInterrupt:
    print("Exiting program...")

finally:
    if 'ser' in locals() and ser.is_open:
        ser.close()
        print(f"Closed serial port {port_name}.")
a simple user interface GUI, more functionalities will be added
															from seabreeze.spectrometers import Spectrometer
import matplotlib.pyplot as plt
import numpy as np
from matplotlib.backends.backend_tkagg import FigureCanvasTkAgg
import tkinter as tk

# Initialize spectrometer
spec = Spectrometer.from_first_available()

# GUI Application
class RamanApp:
    def __init__(self, root):
        self.root = root
        self.root.title("Open Raman Viewer")

        # Add a button to update the graph
        self.update_button = tk.Button(
            root,
            text="Update Graph",
            command=self.update_graph,
            font=("Arial", 20),  # Larger font size
            width=50,  # Increase button width
            height=2  # Increase button height
        )
        self.update_button.pack(pady=5)

        # Create a placeholder for the matplotlib plot
        self.fig, self.ax = plt.subplots(figsize=(10, 6))
        self.canvas = FigureCanvasTkAgg(self.fig, master=root)
        self.canvas.get_tk_widget().pack()

        # Initial graph
        self.update_graph()

    def update_graph(self):
        # Acquire data from spectrometer
        spec.integration_time_micros(20000)
        wave_length = np.array(spec.wavelengths())
        intensities = np.array(spec.intensities())
        laser_wavelength = 532  # Excitation laser wavelength in nm

        # Convert wavelength to Raman shift
        raman_shift = (1 / laser_wavelength - 1 / wave_length) * 1e7  # Multiply by 10^7 to convert to cm^-1

        # Clear the previous plot
        self.ax.clear()

        # Plot the new data
        self.ax.plot(raman_shift, intensities, marker='o', linestyle='-', color='b', label='Intensity vs. Raman Shift')
        self.ax.set_xlabel('Raman Shift (cm⁻¹)', fontsize=12)
        self.ax.set_ylabel('Intensity', fontsize=12)
        self.ax.set_title('Raman Shift vs. Intensity', fontsize=14)
        self.ax.legend(fontsize=10)
        self.ax.grid(True)

        # Refresh the canvas
        self.canvas.draw()

# Main GUI loop
if __name__ == "__main__":
    root = tk.Tk()
    app = RamanApp(root)
    root.mainloop()
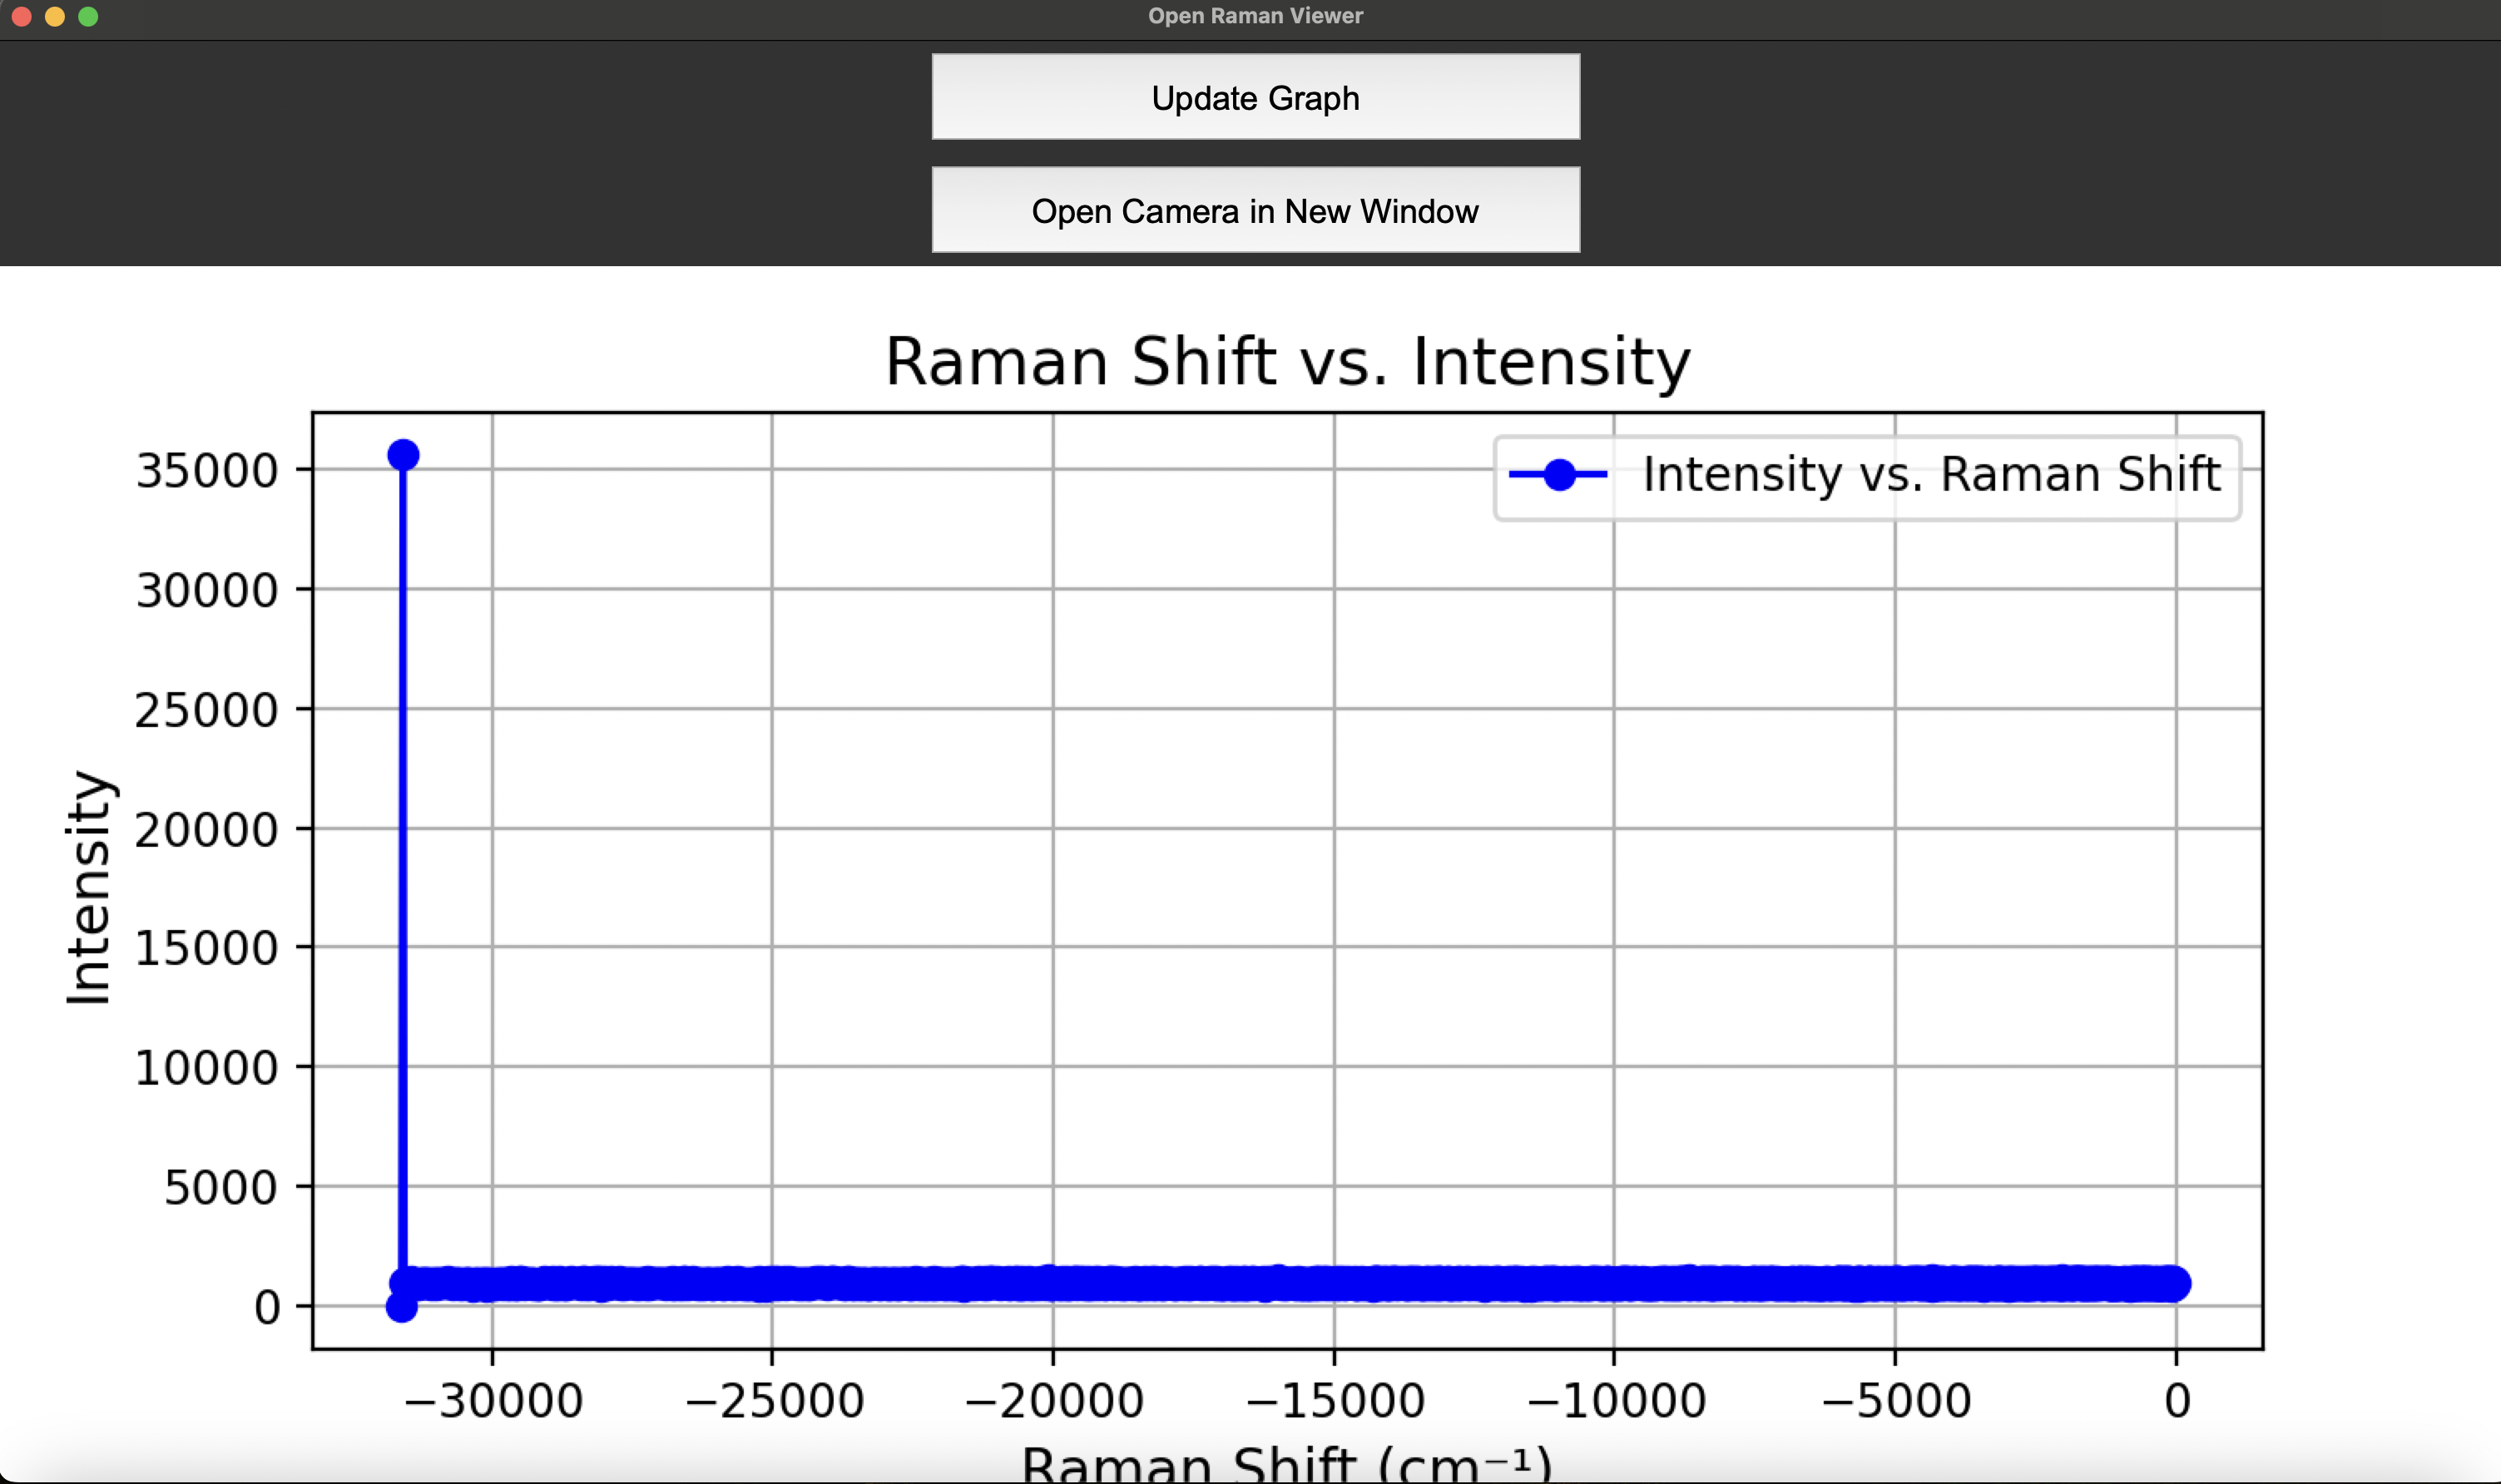
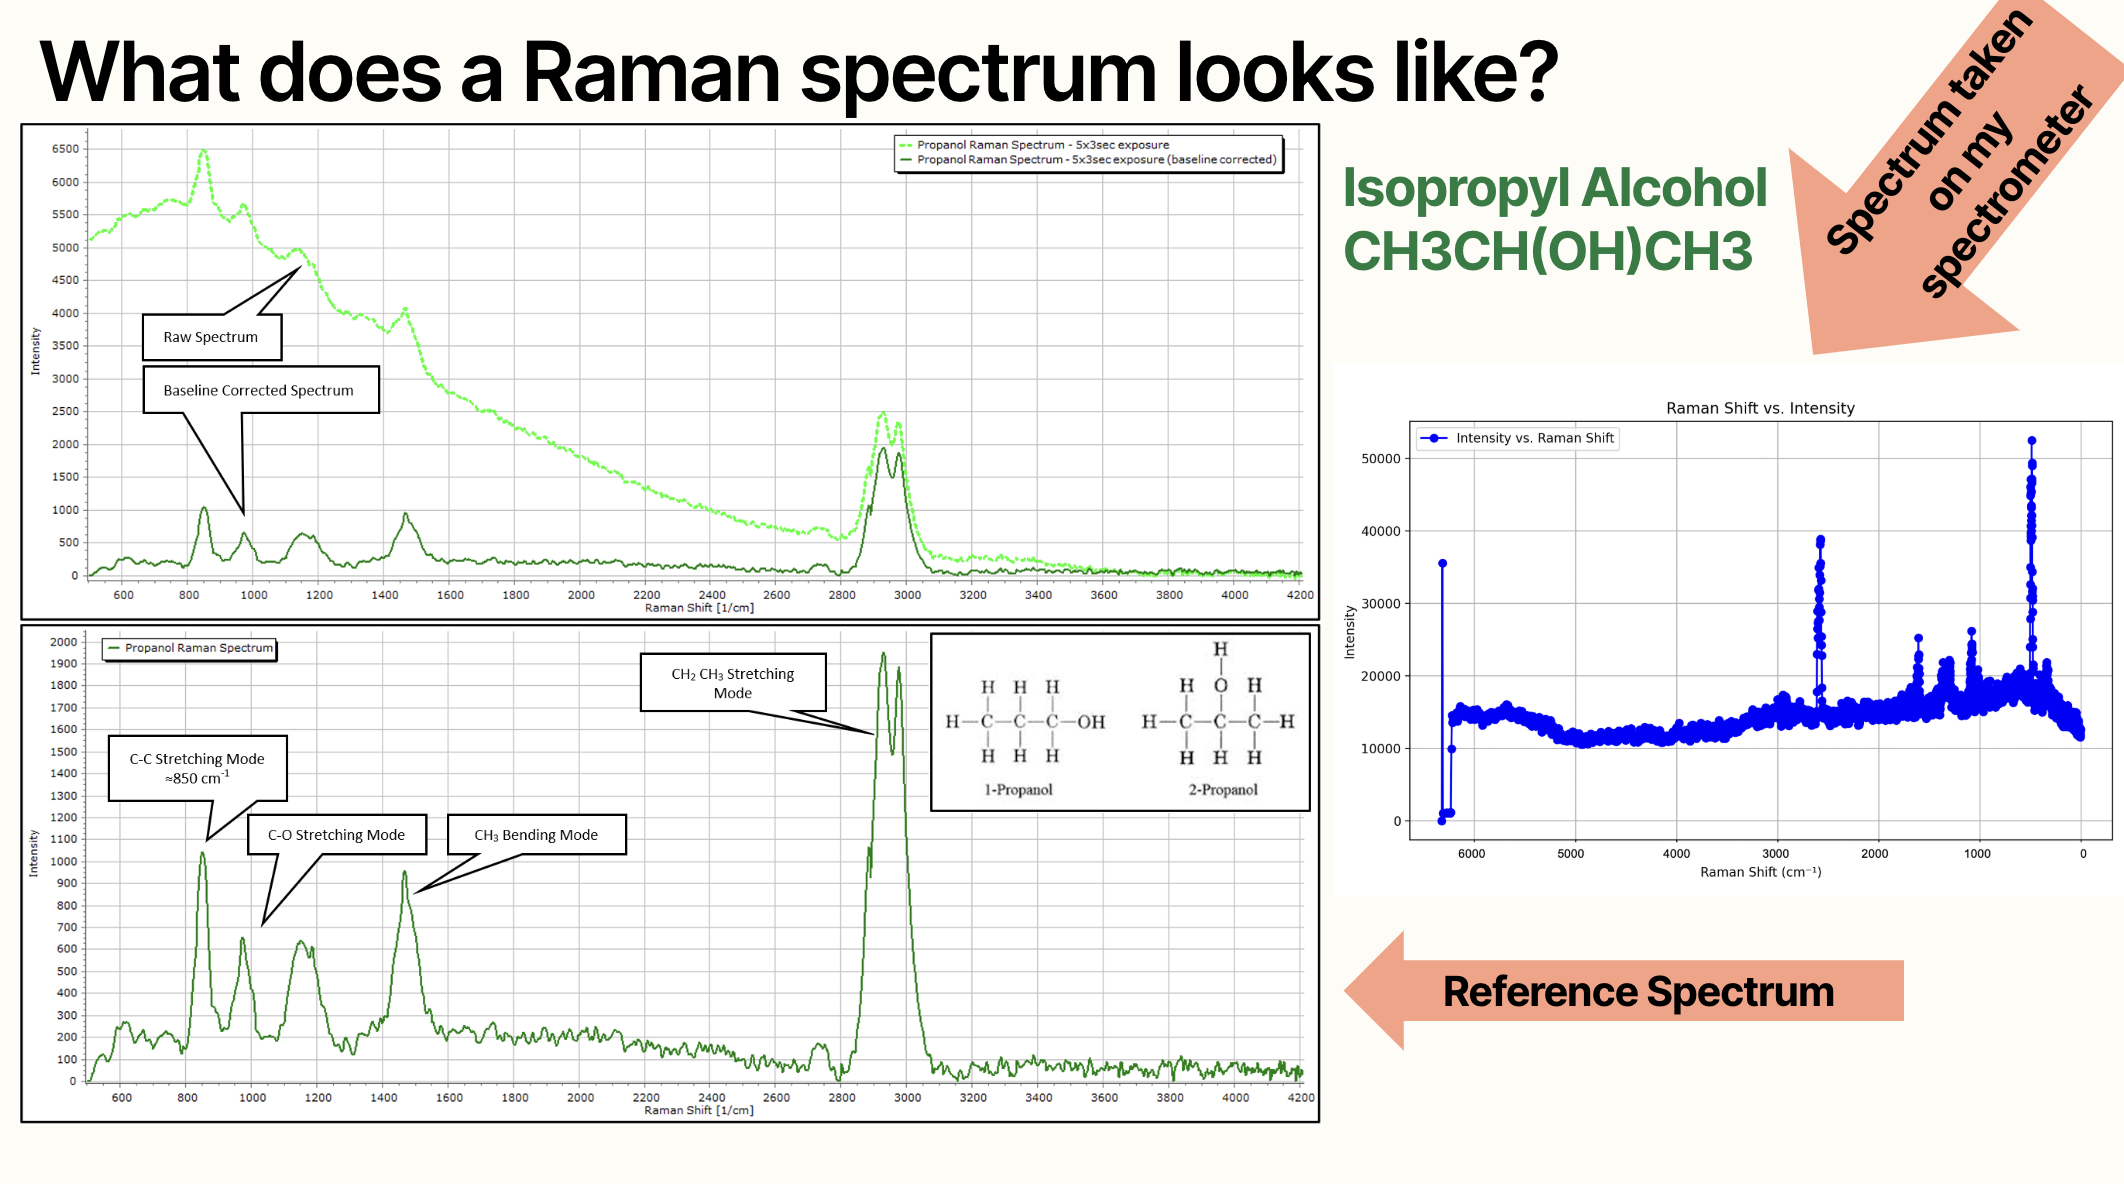
I was able to generate a line spectrum of the sample with the code
Things that didn't work
Most of the parts worked as intended, more time need to put into it to do better tuning of the light characteristics and an enclosure need to be built, when a good microscope stage is built the confocal section will be tuned too.
Answered questions
Few month ago I had doubts that I could make the raman work, as a researcher and user of the machine, it always appeared like magic for me. Due to my limited optical experience, I tried to save time on other parts of the project and spend as much time on the optical components as possible, it was very gratifying after many nights of component selection and alignment I got a readable signal, I am very happy and proud for the project.

What does it do? The project developed an open-source Raman spectroscopy system capable of non-destructive chemical analysis, providing detailed information about the chemical structure, phase, polymorphy, crystallinity, and molecular interactions of materials
Who's done what beforehand? Jiaming Liu, the project creator, has a background in material science and manufacturing techniques. The project required learning new skills in optical component alignment and electronics
What sources did you use? The project drew inspriation form the open raman project (https://www.open-raman.org/) further research was conducted in the field of optical design and spectrum analysis.
What did you design? Jiaming designed a custom Raman spectroscopy setup, including the integration of optical components, electronics for data acquisition, and custom mounts for lenses that did not fit into existing holders
What materials and components were used? The main components included a 785nm DPSS near-infrared laser, an Ocean Optics USB 4000 spectrometer, a Raspberry Pi, a Pi CCD camera, a microscope stage, achromat lenses, a 10/90 beam splitter cube, SMA optical fiber, a 785 nm RazorEdge Dichroic laser beamsplitter, a 785 nm ultrasteep long-pass edge filter, and a 10x microscope objective
Where did they come from? Many of the components are already in the CBA basement, existing ones that does not work was modified, some of the components are 3D printed the entire setup will be custom made in the future, but currently it is a prototype for testing the feasibility of the design.
How much did they cost? The lenses, which are the most expensive components, cost in the range of hundreds of dollars
What parts and systems were made? The optical train will be custom made for the future. Mounts for lenses was either machined or 3D printed and an attempt to drive a linear stage with a BLDC motor using field-oriented control were made, although the latter was not successful due to time constraints, leading to the use of an off-the-shelf piezo stage
What tools and processes were used? Tools and processes included an IR finder scope, an IR viewing card, manual and CNC mills, hand tools, soldering, KiCad, Python, an optical table, and metrology devices such as height gauges, calipers, laser distance measurer, Fusion 360, and prusa printers
What questions were answered? The project answered doubts about the feasibility of constructing a working Raman spectroscopy system and demonstrated that with sufficient time and effort, even complex optical systems can be built and understood by those with limited prior experience
What worked? What didn't? Most parts worked as intended, including the main components and the custom-made mounts. The attempt to use a BLDC motor with field-oriented control for the linear stage did not work out, and the project still requires better tuning of light characteristics and an enclosure for optimal performance
How was it evaluated? The system's effectiveness was evaluated by its ability to generate a readable Raman signal from a sample, confirming the functionality of the design and integration of components
What are the implications? The successful creation of an open-source Raman spectroscopy system has significant implications for accessibility and cost-effectiveness in the field of material analysis. It opens up opportunities for researchers and enthusiasts to perform non-destructive chemical analysis with a system that can be iterated upon and improved by the community